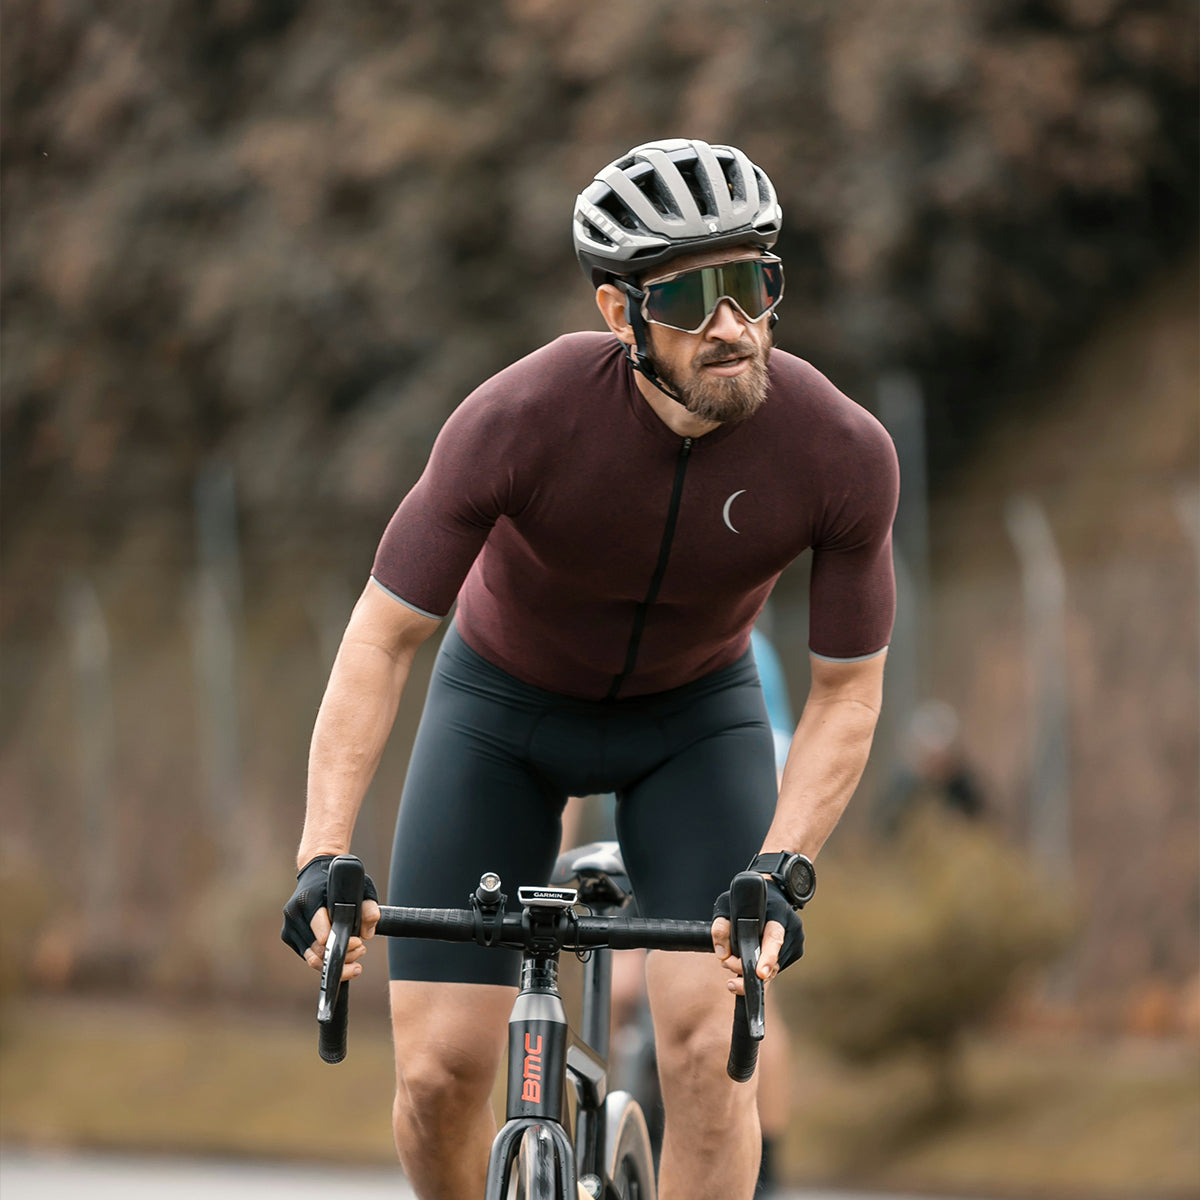

Buying a bicycle helmet is an important decision for both safety and comfort. A good helmet can protect your head in the event of a fall or crash, and the right fit can make your rides more enjoyable. Here’s a step-by-step guide to help you choose the right helmet for your needs:
1. Determine the Type of Cycling You'll Be Doing
Different types of cycling require different types of helmets. Consider the riding you'll be doing most often:
- Road Cycling Helmets: These are lightweight, aerodynamic, and designed for long-distance comfort. They usually have more vents for cooling.
- Mountain Bike Helmets: These tend to have more coverage at the back of the head and often feature a visor to protect against branches or sun glare. They're also more durable to handle rough terrain.
- Commuter Helmets: These are designed for urban cycling, typically offering a balance of comfort, style, and visibility features (like reflectivity or built-in lights).
- Youth Helmets: These are smaller, designed specifically for children or teens, and are typically more colorful and fun-looking.
2. Look for Safety Standards
Ensure the helmet you choose meets the safety standards for your region. In the U.S., look for a helmet that meets CPSC (Consumer Product Safety Commission) standards. In Europe, the helmet should be CE EN1078 certified, and in Australia, it should meet AS/NZS 2063 standards.
- MIPS Technology: Some helmets come with MIPS (Multi-directional Impact Protection System), which helps reduce rotational forces in the event of a crash. While it's not required by law, MIPS is becoming more common in higher-end helmets for added protection.
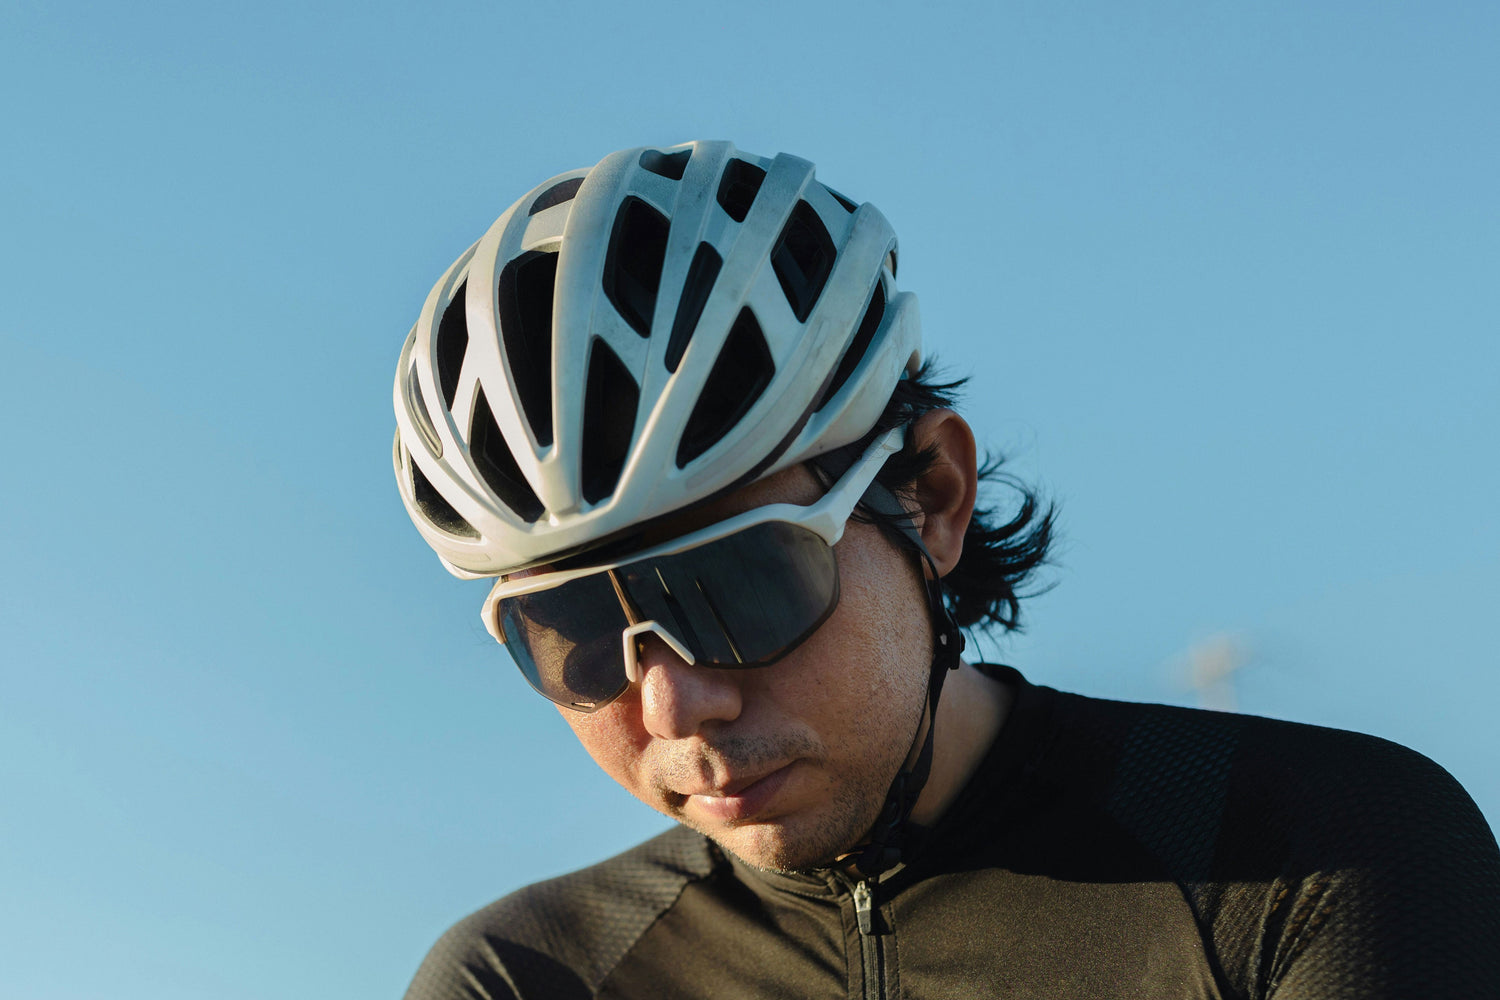
3. Check the Fit
A helmet must fit snugly and comfortably. Here’s how to check the fit:
- Measure Your Head: Use a soft measuring tape to measure the circumference of your head, about an inch above your eyebrows. Most helmets come in different sizes (S, M, L), so knowing your head size will help you find the right one.
- Adjustability: Look for helmets with adjustable straps and a retention system (a dial or straps) that help fine-tune the fit. Many helmets come with a dial at the back for a more precise fit.
- Positioning: The helmet should sit level on your head, not tilted back or too low on your forehead. The front edge should be about two finger widths above your eyebrows.
4. Consider Ventilation
Ventilation is important to keep your head cool, especially on long rides or in hot weather. Look for helmets with ample vents (especially in road helmets). More vents generally mean better airflow, but keep in mind that a very vented helmet might offer slightly less protection because of the reduced coverage.
5. Weight
Helmets come in a range of weights. Lighter helmets are generally more comfortable for long-distance riding, as they put less strain on your neck. However, lighter helmets often come at a higher price.
6. Helmet Materials
Most helmets are made of:
- Expanded Polystyrene (EPS): This is the foam inside the helmet that absorbs impact. It’s standard in most helmets.
- Polycarbonate Shell: This is the outer shell, which helps protect the foam. Higher-end helmets may use more advanced materials like carbon fiber for added strength without extra weight.
7. Consider Additional Features
- Visors: Mountain biking and commuting helmets often come with built-in visors, which help protect your eyes from sun glare, rain, or branches.
- Reflective Elements: Some helmets have reflective decals or built-in lights, making you more visible to other road users at night.
- Integrated Lights: Some helmets feature rear lights or can have a light mounted on them for additional visibility.
8. Set Your Budget
Helmet prices vary widely depending on features like aerodynamics, weight, and technology. Here’s a rough breakdown:
- Budget helmets: $30–$60. These are often basic but meet safety standards.
- Mid-range helmets: $60–$150. These will typically have better fit systems, more vents, and sometimes MIPS.
- High-end helmets: $150 and up. These often feature the latest in aerodynamic design, MIPS technology, lightweight materials, and premium fit systems.
9. Try It On
Once you've narrowed down your choices, it's a good idea to try on a few helmets. A properly fitting helmet should feel snug but not tight. If you’re buying online, check the return policy in case the helmet doesn’t fit as expected.
10. Maintenance and Lifespan
- Replace after a crash: If you’ve been involved in an accident where your helmet has taken an impact, replace it. The foam inside might have been compromised.
- Lifespan: Even if you haven’t had an accident, helmets should generally be replaced every 3–5 years because the materials degrade over time.
Quick Tips:
- Do not buy used helmets, as they may have been damaged or compromised in a crash.
- Comfort is key: Look for one with padding that suits your needs and doesn’t cause discomfort over long rides.
- Test it out: If possible, wear the helmet while doing some light activities (like riding your bike or doing a mock fit) to see how it feels in motion.
By considering these factors, you'll be able to find a helmet that provides the best protection and comfort for your cycling adventures. Stay safe and happy riding!


Leave a comment
This site is protected by hCaptcha and the hCaptcha Privacy Policy and Terms of Service apply.