

For a new cyclist, knowing how to perform basic bicycle maintenance is essential to keep your bike in good condition and avoid costly repairs. Here are the top DIY bike maintenance skills every new cyclist should learn:
1. Fixing a Flat Tire
- Why It’s Important: Flats are common, and knowing how to repair a tire will save you time and stress on the road.
- What You Need: Tire levers, a spare inner tube, a pump (or CO2 inflator), and patch kit (just in case).
- How to Do It:
- Remove the wheel from the bike.
- Use the tire levers to pry the tire off the rim.
- Replace or patch the inner tube.
- Reassemble the tire and wheel.
- Inflate the tire to the recommended pressure.
2. Adjusting Brakes (Rim and Disc)
- Why It’s Important: Properly adjusted brakes are critical for your safety.
- What You Need: Allen wrenches or a screwdriver (depending on your bike type).
- How to Do It:
- For rim brakes, check the brake pad alignment to ensure it’s not rubbing on the tire and adjust the tension if needed.
- For disc brakes, inspect the rotor and calipers for alignment and ensure they aren’t rubbing. Adjust the brake lever reach and pad spacing for optimal braking performance.
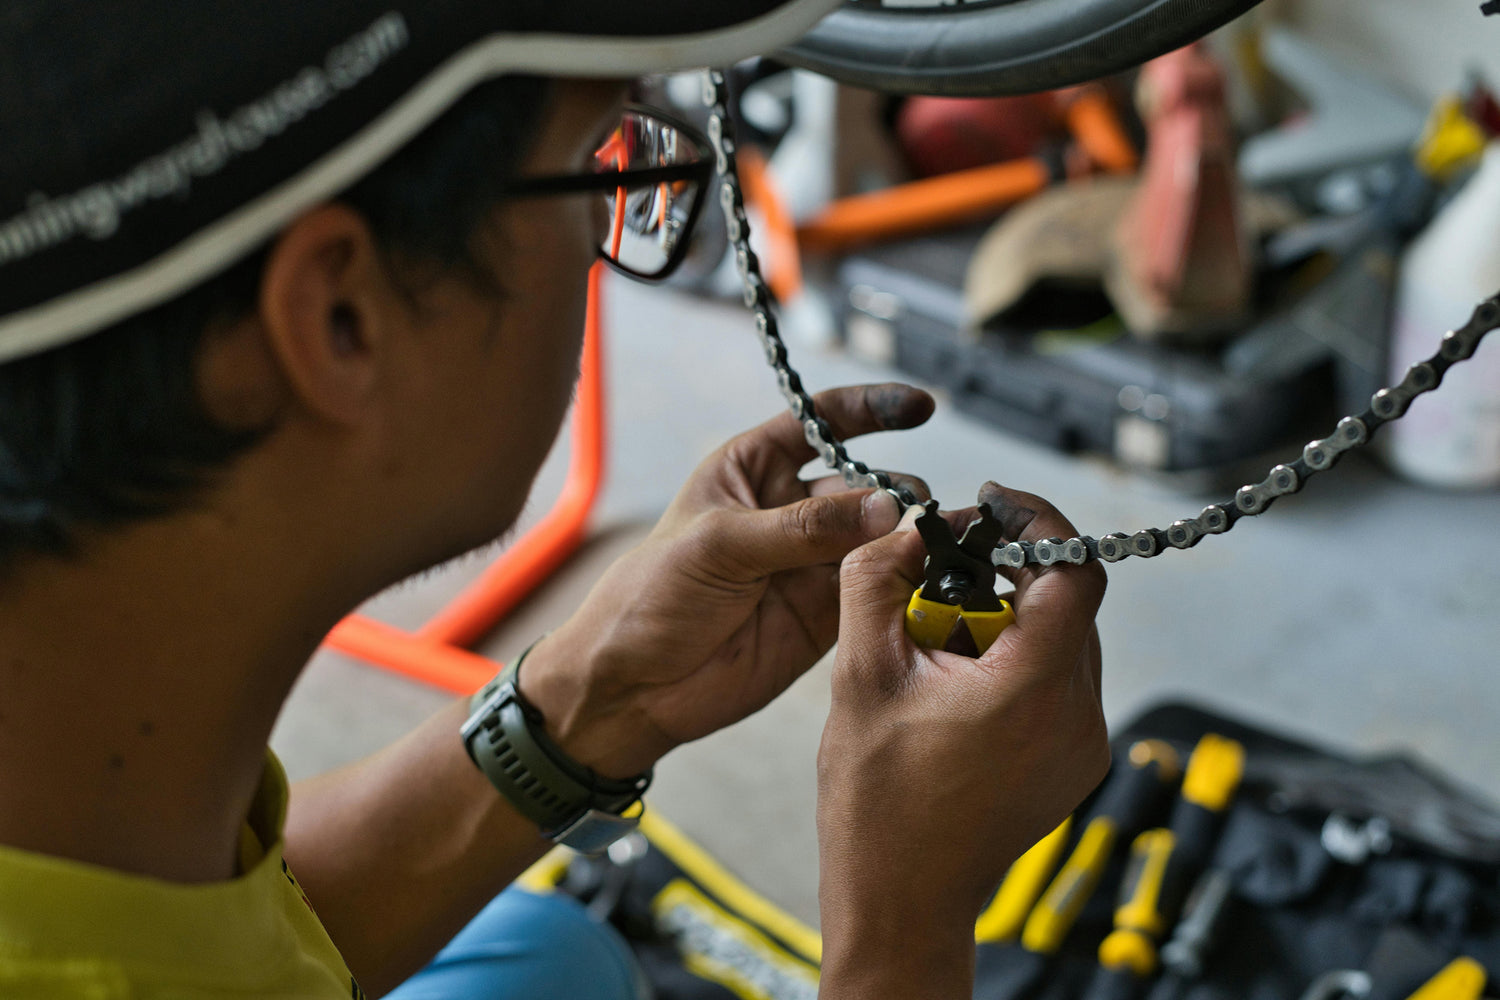
3. Lubing the Chain
- Why It’s Important: Keeping the chain well-lubed reduces wear and tear and makes for a smoother ride.
- What You Need: Bike-specific chain lube.
- How to Do It:
- Clean the chain with a rag or a chain cleaning tool.
- Apply lube to the inside of the chain while slowly pedaling backward.
- Wipe off excess lube with a clean rag to avoid attracting dirt.
4. Shifting Adjustment (Front and Rear Derailleurs)
- Why It’s Important: A properly tuned drivetrain ensures smooth and precise shifting, making riding easier and more efficient.
- What You Need: Screwdriver and/or Allen wrenches.
- How to Do It:
- For front derailleur, adjust the limit screws to prevent the chain from dropping off the smallest or largest chainrings.
- For rear derailleur, adjust the tension in the cable to ensure the derailleur moves properly through all the gears.
- Test shifting by moving through all gears and make small adjustments as necessary.
5. Tightening/Adjusting the Headset
- Why It’s Important: A loose headset can lead to wobbling or poor handling, especially at higher speeds.
- What You Need: Allen wrenches.
- How to Do It:
- Check the headset by applying the front brake and rocking the bike back and forth. If you hear a clicking or feel play, it may be too loose.
- Tighten the headset bolt slightly.
- Test again to ensure proper adjustment.
6. Cleaning the Bike
- Why It’s Important: Keeping your bike clean helps extend the life of parts like the chain, brakes, and drivetrain.
- What You Need: A bucket, mild soap, a sponge or brush, and a degreaser for the drivetrain.
- How to Do It:
- Use a sponge to wash the frame and wheels with soapy water.
- Use a degreaser to clean the chain and cassette, then scrub with a brush.
- Rinse off the bike and dry it with a towel.
- Lubricate the chain and other moving parts as needed.
7. Checking and Maintaining Tire Pressure
- Why It’s Important: Riding with the right tire pressure helps with traction, comfort, and prevents flats.
- What You Need: A floor pump with a pressure gauge.
- How to Do It:
- Check the tire pressure by using a pump with a built-in gauge.
- Refer to the sidewall of your tire for the recommended PSI range.
- Inflate or deflate the tire as needed.
8. Truing the Wheels
- Why It’s Important: A true wheel runs smoothly and reduces wear on the brakes. If your wheel wobbles, it can affect performance and safety.
- What You Need: Truing stand or the bike itself, spoke wrench.
- How to Do It:
- If the wheel wobbles, use a spoke wrench to tighten or loosen the appropriate spokes to bring the wheel back into alignment.
- Spin the wheel to check for evenness.
9. Replacing Brake Pads
- Why It’s Important: Worn-out brake pads can reduce braking performance and damage the rims or rotors.
- What You Need: New brake pads, Allen wrenches, or a screwdriver (depending on the brake system).
- How to Do It:
- Remove the old pads by unscrewing or unbolting them.
- Install the new pads, ensuring they align correctly with the rim or rotor.
- Adjust pad height and angle if needed.
10. Pedal Maintenance or Replacement
- Why It’s Important: Loose or damaged pedals can affect your cycling experience and safety.
- What You Need: Pedal wrench or adjustable wrench.
- How to Do It:
- If a pedal becomes loose, tighten it using a pedal wrench.
- If it’s broken or damaged, unscrew the old pedal and replace it with a new one, ensuring the correct threading direction (left pedal has reverse threads).
By learning these basic DIY bike maintenance skills, new cyclists can keep their bikes running smoothly and make sure they’re always ready to ride. Each skill improves your ability to handle minor issues that might arise during a ride, ultimately making you more self-sufficient and confident on the road or trail.
Leave a comment
This site is protected by hCaptcha and the hCaptcha Privacy Policy and Terms of Service apply.